Learning something and mastering it are two vastly different things. I'm on my way to mastering the 6 panel ball cap and I'd like to share my process.

Whether, dad hat or a snap back it's still a 6 panel.
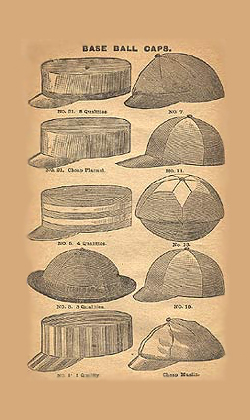
"A baseball cap is a type of soft cap with a rounded crown and a stiff peak projecting in front...The front of the cap typically contains designs or logos of sports teams... The back of the cap may be "fitted" to the wearer's head size or it may have a plastic, Velcro, elastic or zipper strip adjuster so that it can be quickly adjusted to fit different wearers. The baseball cap is a part of the traditional baseball uniform worn by players, with the brim pointing forward to shield the eyes from the sun. Since the 1980s varieties of the cap have become a common fashion accessory, particularly in the United States... In 1860, the Brooklyn Excelsiors wore the ancestor of the modern rounded-top baseball cap, which featured a long peak and a button on top, and by 1900, the "Brooklyn style" cap became popular" [ wikipedia.com ]

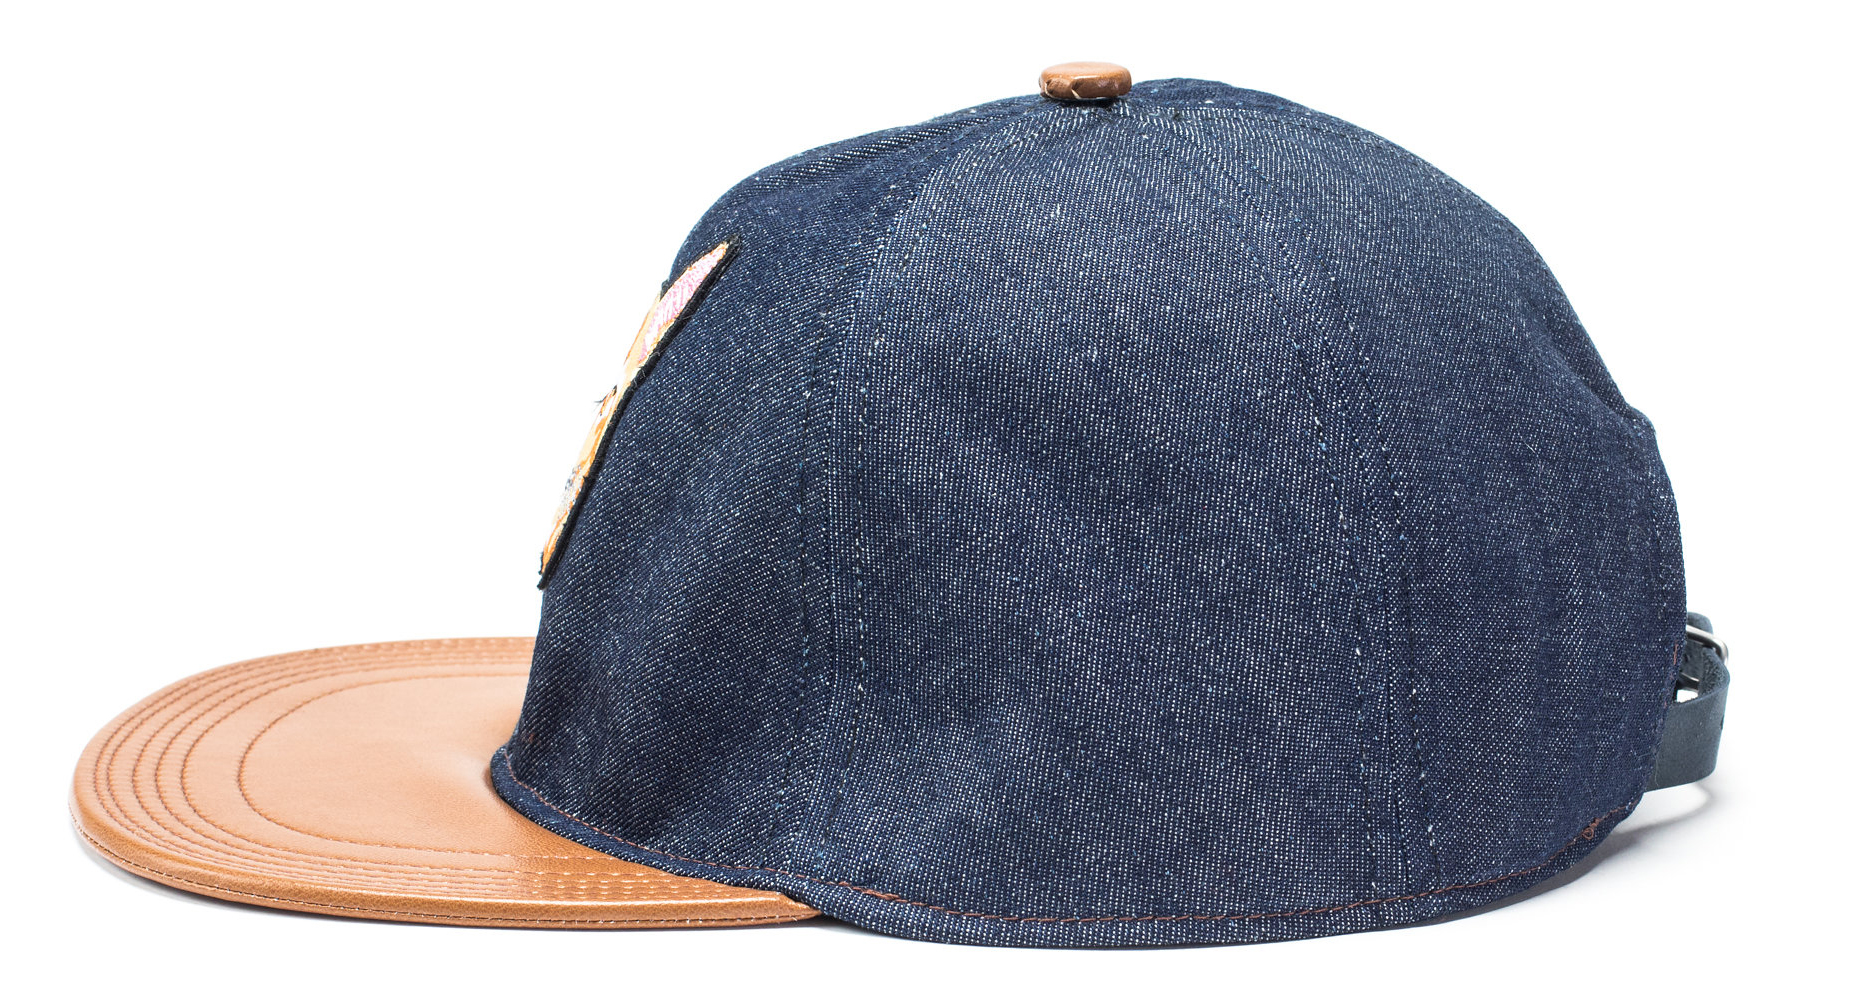
In my process of mastering the 6 panel cap, I have found my style to be a low profile hat with very little structure similar to the original style. I started with the 5 panel, camper style hat years ago. In recent months, I have moved to making the 6 panel which is typically more challenging then its 5 panel counterpart. Follow this link to a chart of the different styles and components to various hat styles: sport-smart.com/pages/baseball-hat-features

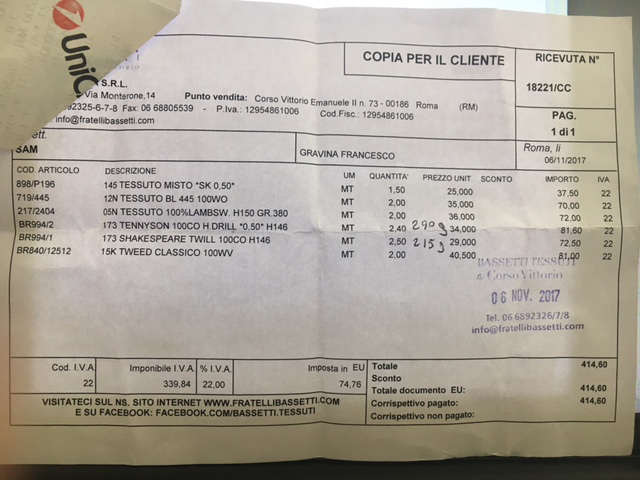
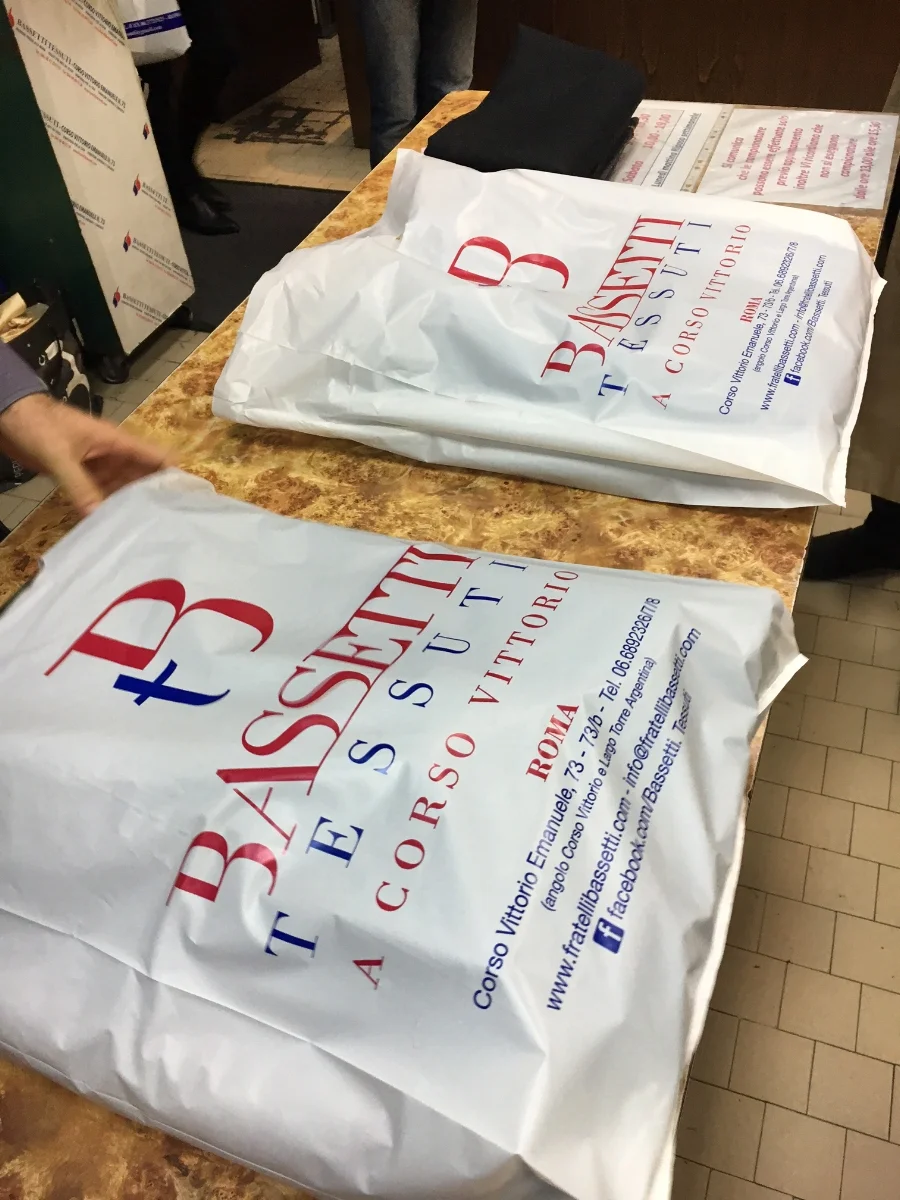
I have experimented with constructing hats from a wide variety of fabrications. Some discovered in countries around the world and many found in my studio such as: nylon, cotton, leather, wools and silks in all weights. Experimentation is the focus here. Some fabrics were the ideal weight and stiffness that resulted in the perfect hat. While, others fabrics have veered far from perfect. Through this trial and error process, I have learned to adapt specific techniques within the process. In turn, teaching me to make a quality product no matter the fabric's characteristics. Wool and silk proving to be my favorite thus far. Silk is very difficult due to the thin weight, however, the slick look and smooth hand make it well worth while. Mid weight wools are the ideal textile, in my opinion.
Challenges in my process:
1. The pattern is soooo important, if the pattern is off the cap will look lopsided and be ill-fitted.
2. When sewing the seam tape you need not stress and or pull hard. This will also create a lopsided cap.
3. Bubbles in the visor. Pull the fabric/leather taut when sewing to decrease any flaws.
4. The sweatband is sewn very unconventionally (let me know if you have any questions with this.)
5. Sewing the bill to the cap. This is very difficult without the right machine. I now have an ancient Singer walking foot machine with a post for easy stitching around the shape of inner bill.

My Singer 153 W 103. It has a new table plus servo motor and the head is ancient.

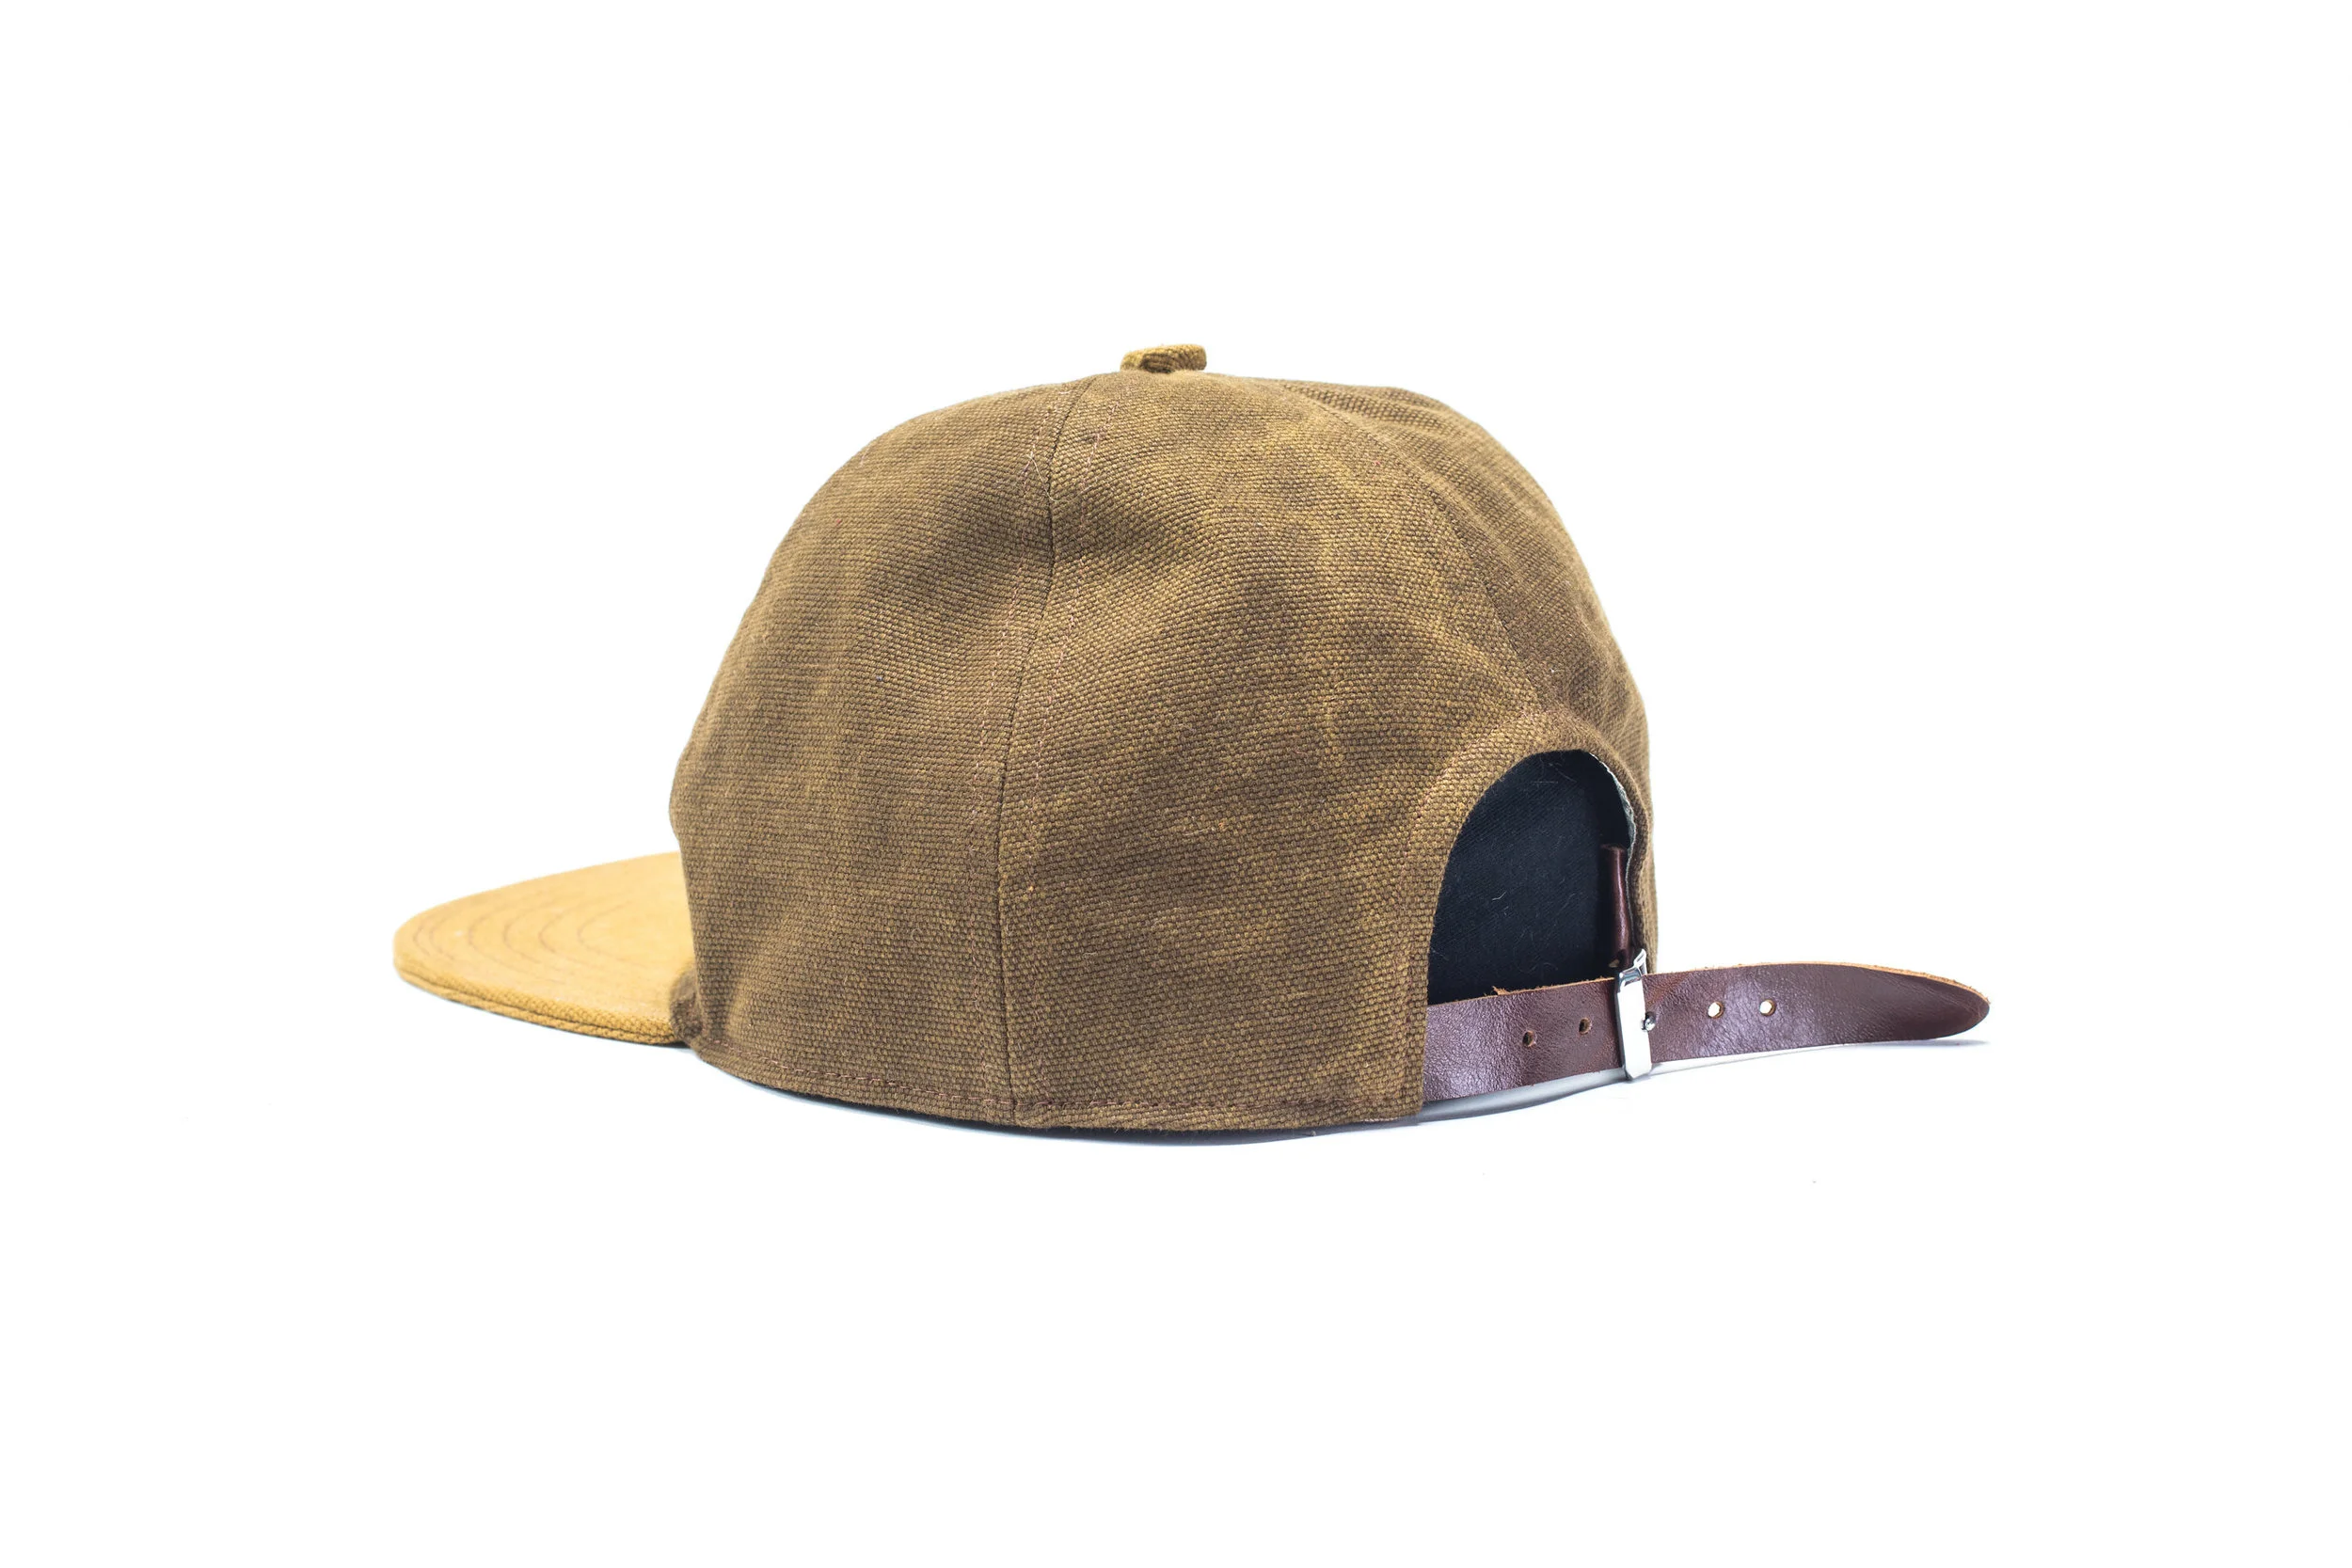
I have made almost thirty hats at this point, many of them far from perfect. Finally, my twentieth hat was something to be proud of. I perfected the pattern to fit just right. Aiming for a truly old school hat, similar to the original Brooklyn hat with a modern wide brim style.
My hat patterns have a raised shape on the top crown that edges to the center. I use a lot of skins and waxed cottons to cover the brims. Textiles with a slight stretch are best. I try to cover the top button with the same material as the brim and back strap. The seam tape is always different but I'm finding that suit liners are good because they presses/irons well. Always use a lightweight fabric for the seam tape or it will be bulky and possibly lopsided. Use a lightweight cotton for the head/sweatband without too much dye. If it has too much dye, the color may run when sweating. One of my signature details is embroidering a message on the sweatband before sewing into cap.

I plan on continuing to experiment with different methods in crafting and finishings. I will be fascinated playing with different textiles and materials. For winter, maybe I'll make a shearling or fur hat. For summer, I was thinking about an old Vietnam era mesh net with a brown leather brim.

Check out some of my faves...